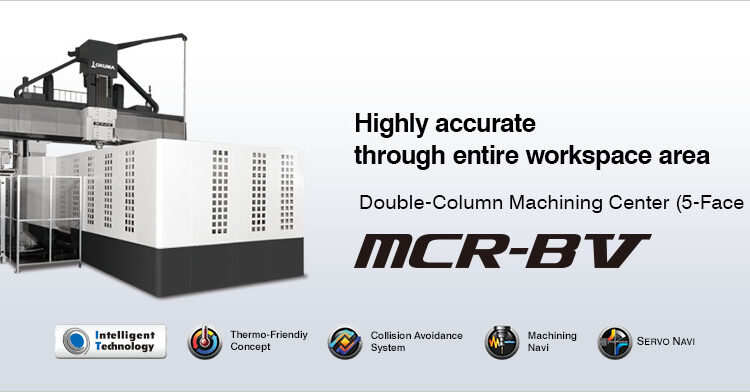
With the cutting capacity and work envelope to handle a wide range of applications
Shortening of cycle times by powerful cutting
By using a high torque, high output integral motor/spindle as standard, it is possible to handle power cutting to high precision finishing.
- Machining capacity: 1,170cm3/min (workpiece material: S45C, Z-axis protrusion: 600 mm)
- Spindle speed: 6,000min-1
- Maximum output: 43/37/30kW (10 min/cont (high speed)/cont (low speed))
- Maximum torque: 1,406/981 N-m (10 min/cont)
Expanding work envelopes and providing speedups
Rapid traverse rate improved
Rapid traverse
X-axis: 30m/min* double the previous model
Y-axis: 32m/min 1.6 times that of the previous machine
* X-axis travel: 6,700 mm or less
Larger work envelope
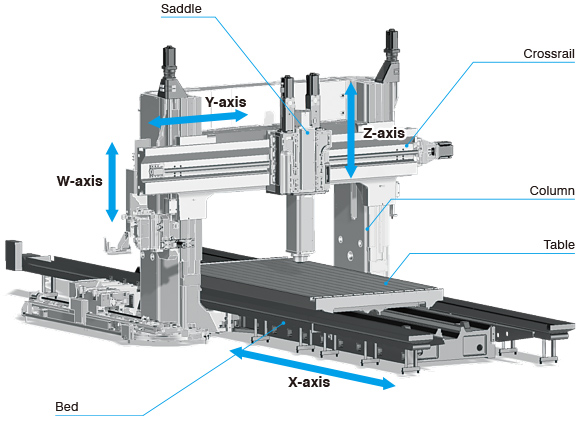
The work envelope has been made bigger by extending the X-axis travel distance and widening the effective width between columns.
Ex: 30 × 50 type
X-axis travel: 5,200mm
+200 mm compared to the previous model
Effective width between columns: 3,150mm
+100 mm compared to the previous model
World-class Okuma High-Accuracy Technology (Standard).
Equipped with Thermo-Friendly Premium specifications, AbsoScale detection, and 3D Calibration as standard equipment to achieve stable machining accuracy even during long-term continuous operation.
Thermo-Friendly Premium that suppress thermal deformation
High accuracy is enabled in normal factory environments
Okuma’s Thermo-Friendly Concept achieves high dimensional stability not only when the room temperature changes, but also at machine startups or when machining is resumed. To stabilize thermal deformation, warming-up time is shortened and the burden of dimensional correction during machining restart is reduced.
The MCR-BV is equipped with TAS-C2: Thermo Active Stabilizer—Construction for large machines, a Thermo-Friendly Premium spec, for optimal control of the machine to maintain high machining accuracy when ambient temperatures change. Moreover, controlling dimensional changes due to table thermal expansion makes possible stable accuracy even for large workpieces.

3D Calibration for volumetric accuracy comparisons
Any operator can easily calibrate machine accuracy
Factory floor surface deformation over the long term affects machine accuracy.
With 3D Calibration, the accuracy master, which is the absolute accuracy standard, is installed on the table, and the automatic measurement of the touch probe is performed with a simple operation to check and calibrate the machine accuracy. By calibrating regularly, high accuracy can be maintained over the long term.

Accuracy Stability Diagnosis Function
Self-diagnosis of changes in machine accuracy
To diagnose mechanical thermal deformation due to non-uniform factory temperatures
On production floors where the machine is exposed to wind or sunlight, the temperature around the machine becomes uneven, creating an environment in which the thermal deformation of the machine tends to increase.
The Accuracy Stability Diagnosis Function estimates the change in machine accuracy due to non-uniform factory temperatures, quantifies it as “accuracy stability” and displays that information on the screen.
If the accuracy is unstable, the operator will be notified by a message or alarm. More stable machining accuracy can be achieved by performing accuracy checks and adjustments when notified.
Diagnosing changes in machine accuracy from factory floor thermal deformation
The change in machine accuracy due to thermal deformation of the production floor is also estimated and quantified as a factor of “accuracy stability”. Notifications of the best timing for machine accuracy adjustments with 3D Calibration etc will be provided.

Highlighted Specs
| Item | Unit | MCR-BⅤ |
|---|---|---|
| Effective width between columns | mm (in) | 2,650 (104.33), 3,150 (124.02), 3,650 (143.70) |
| Table working surface | mm (in) | 2,000×4,000 (78.74 × 157.48) to 3,000×12,000(118.11 × 472.44) |
| Spindle speed | min-1 | 30 to 6,000 |
| Tool storage | tools | 50 |
| Motor | kW (hp) | 43/37/30 (57/50/40) (10 min /cont (high speed) / cont (low speed)) |
| Machine Size (W×D×H) | mm (in) | 7,370×10,730×6,420 (290.16×422.44×252.76) to 8,340×27,930×6,700 (328.35×1,099.61×263.78) |
This content was originally published on the Okuma website.

