3D Scantech: How to Optimize Mold Inspection for Automotive Parts
At the start of manufacturing, a mold is created according to a nominal model. However, there is a gap between the theoretical model and the reality of industrial manufacturing. Building a qualified mold is crucial for producing parts that meet technical specifications.
When manufacturing new energy vehicles, molds are used to create various automotive parts such as the car interior, battery box cover, A-surfaces, and precision electronic parts. To gain a competitive edge, manufacturers need to find a more efficient way to inspect the mold and cut down on time and costs.
New Energy Vehicle Part Manufacturer
The client specializes in designing, processing, manufacturing, and selling products made of composite materials. The company excels in producing new energy vehicle parts, which have been supplied to well-known manufacturers.
In this project, the client uses portable 3D scanner SIMSCAN to measure molds that are used to create battery box covers, obtain their full 3D data, and ensure they meet the technical requirements.

Inspect Molds to Produce Reliable Automotive Parts
The battery pack, as the core component of new energy vehicles, requires a robust and lightweight top cover to support and protect it from external impact.
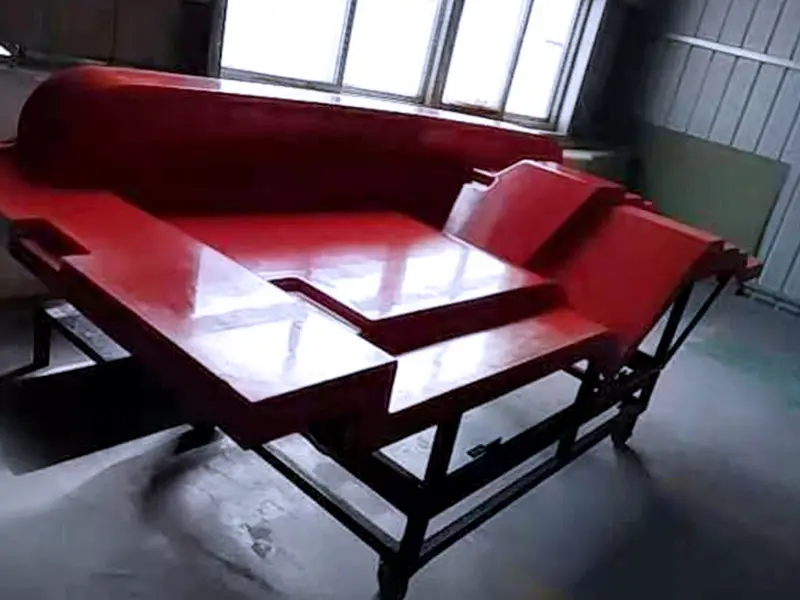
In this case, the battery box cover molds are fabricated from glass fiber reinforced plastic (FRP), a novel composite material with a high strength-to-weight ratio, suitable for creating covers for new energy vehicle battery enclosures.
The customer aimed to inspect the GD&T including the flatness of various automotive FRP molds. This way, they can verify whether the molds conform to the specifications and whether the battery box cover complies with the delivery standards. This facilitates the production of reliable and efficient components.
Difficulties of 3D Scanning Intricate Molds
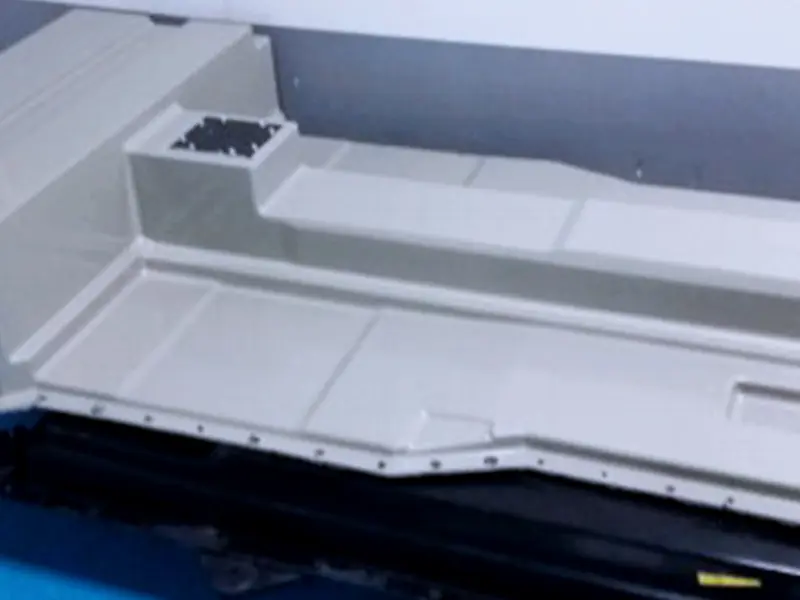
Deformation – FRP features low rigidity, which means molds can deform when produced. Moreover, FRP products are more likely to deform when compared with metal products.
Large Size – The molds are large and complex, therefore, it is time-consuming and labor-intensive to measure. Their large sizes pose challenges for the measurement process.
Confined Areas – The molds have numerous corners, vertical surfaces, and narrow spaces, which are inaccessible to conventional measuring methods. It is difficult to obtain complete data.
Drawbacks of Traditional Measurement Methods
Level bubble testing used to be the common method for checking the mold surface, but it had many drawbacks:
It could only detect if the surface was flat or not, but not the exact size and extent of any defects such as dents. This made it hard to repair the mold accurately and sometimes led to the whole mold being scrapped, wasting a lot of money.
It did not generate any test report or visual results, so the staff had to rely on their experience and judgment to correct the mold. This demanded a high level of professionalism from the team.
It required a large amount of labor and resources to examine each product, reducing the productivity of mold processing.
Handheld 3D Laser Scanner
The 3D scanner used: SIMSCAN
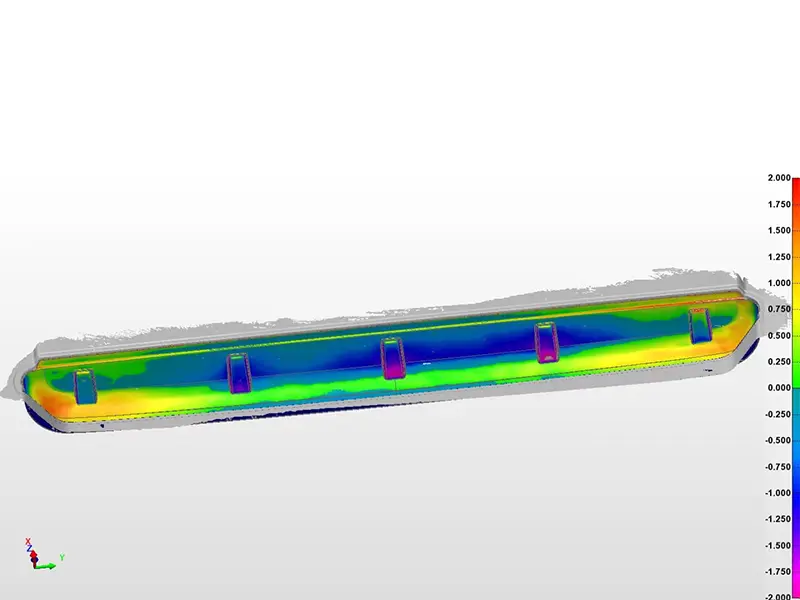
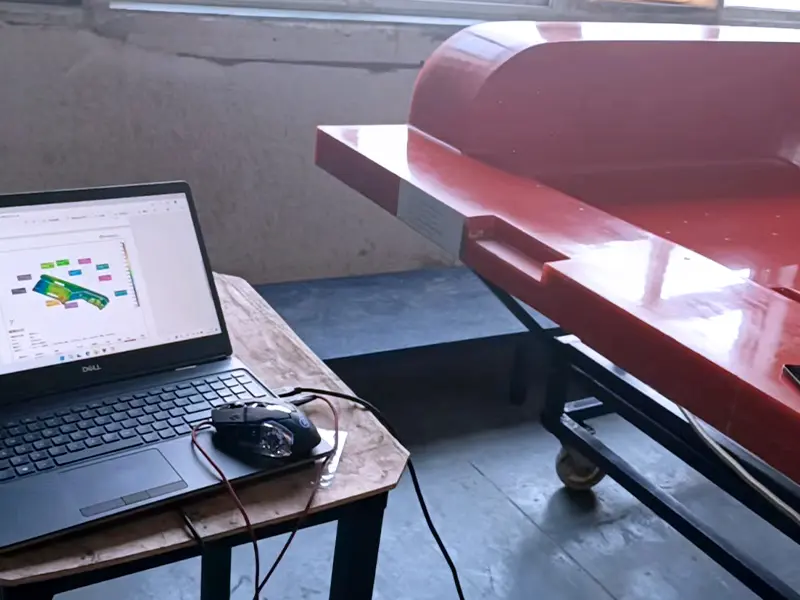
Scanning process: The operator attached a few targets to mold surfaces, and then used SIMSCAN handheld 3D laser scanner to scan the surfaces, quickly capturing high-density points. The scanned data was processed by 3D software and compared with the CAD model. Finally, the operator obtained inspection reports to intuitively identify deviations.
Scanning time: 8 minutes for the smallest mold (about 60cm*25cm) and 15 minutes for the largest mold (about 200cm*100cm*50cm).
Advantages of 3D Scanning Molds
Fast scanning for high efficiency
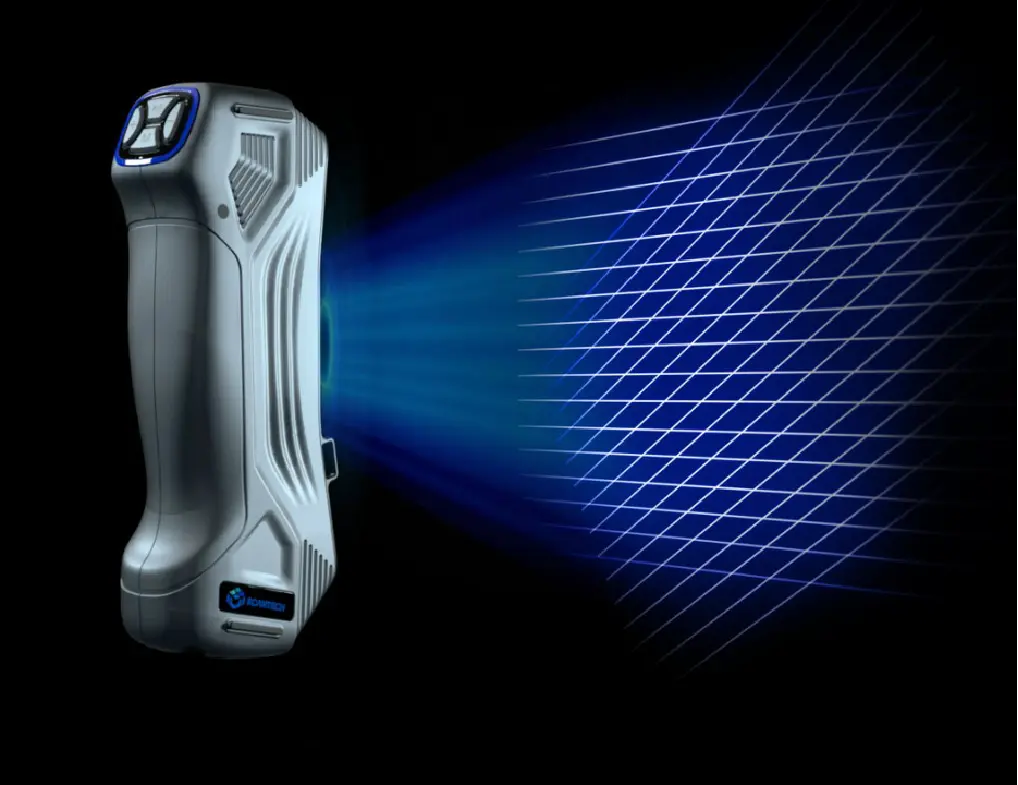
With 17 blue laser crosses and a robust algorithm, SIMSCAN scans fast with a measurement rate of up to 2.8 million measurements/s. It can scan a large surface area of up to 700*600 mm, which makes it very efficient for measuring large parts.
Excellent performance for fine details
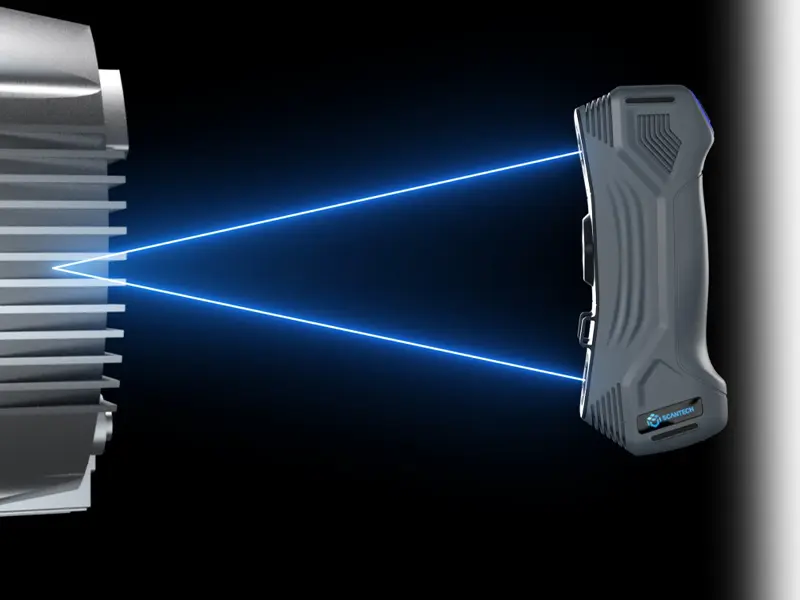
With a high resolution and accuracy of 0.020 mm, it can capture high-quality 3D data of features. Moreover, SIMSCAN has two cameras only 130 mm apart, which makes it easy to get accurate 3D data of narrow spaces.
Portable, compact, and flexible
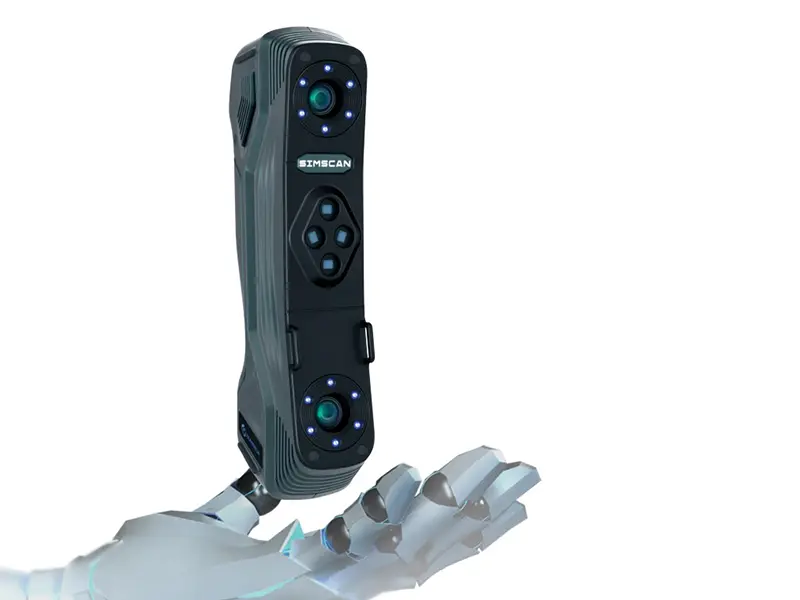
SIMSCAN is a palm-sized and compact handheld 3D laser scanner, which enables engineers to measure parts for a long session without causing much fatigue. It can be easily carried around to conduct measurements even under harsh conditions.
Real-time report for intuitive analysis
The acquired data can be imported into the 3D inspection software for comparison and analysis with the original CAD model. It can generate easy-to-understand color maps to provide accurate data guidance for subsequent product repair and mold modification.
