Scantech Releases Photogrammetry Software Glopho with Accuracy up to 0.012 mm/m
We are excited to release our latest photogrammetry software Glopho for capturing data of medium-to-large-scale parts with ultra-high accuracy up to 0.012 mm/m.
With the determination to overcome the challenges posed by measuring large-sized parts, our developers have spent numerous nights and days enhancing the performance of Glopho.
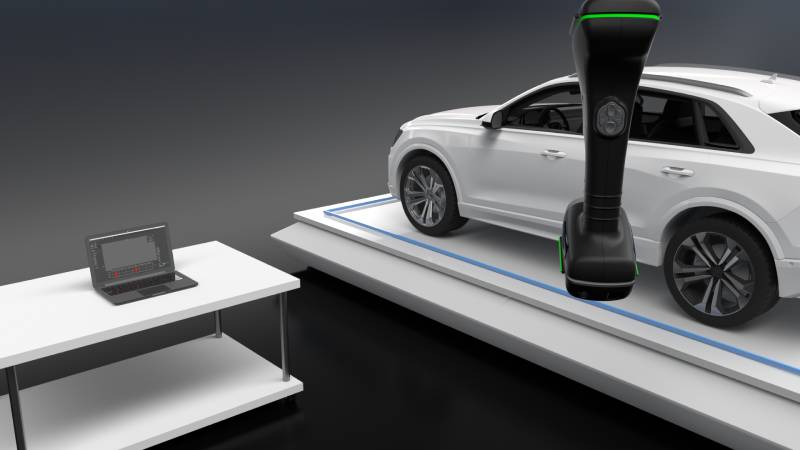
It is a powerful photogrammetry software that works in unison with Scantech’s portable 3D scanner KSCAN-Magic and photogrammetry system MSCAN to obtain accurate coordinates for parts.
Introduction of Glopho
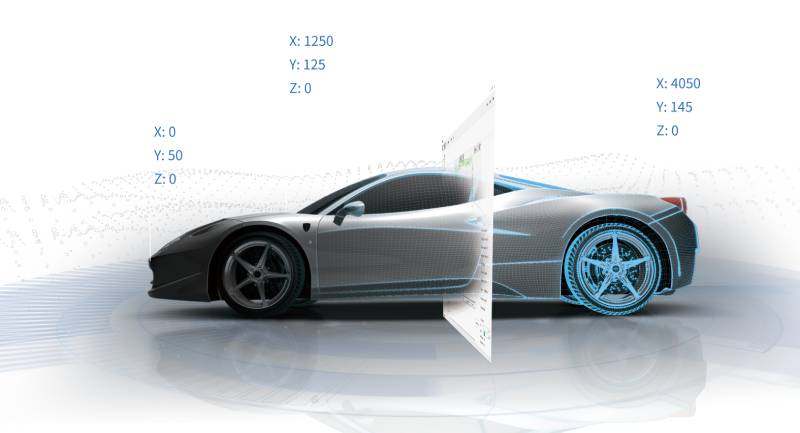
By taking photos from various angles, metrology professionals can stitch precise 3D coordinates of targets and scale bars with the help of Glopho. These targets form a stable backbone structure for later 3D scanning, helping to eliminate alignment errors accumulated over distance.
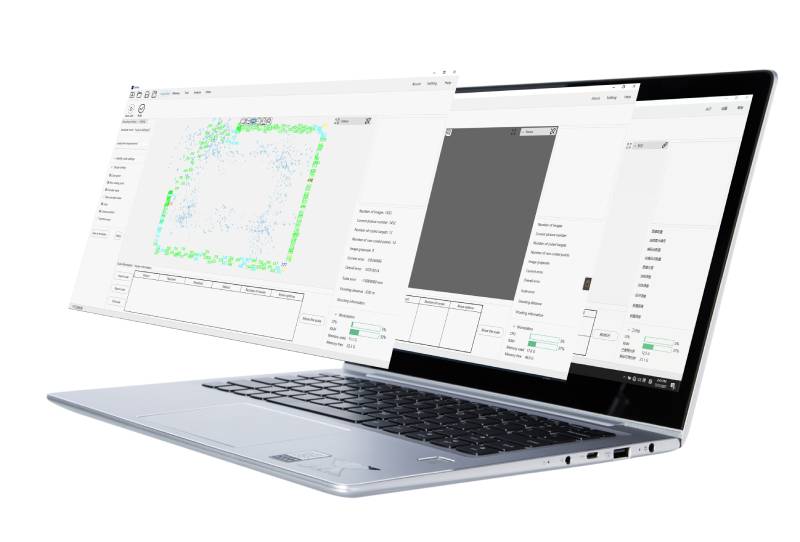
It brings photogrammetry data capturing, real-time display, scale management, data analysis, and operating environment detection into one intuitive environment to navigate the coordinate measuring with ease.
Its user-friendly interface is easy to use and delivers highly smooth interaction. It is well-suited for capturing high-precision data of medium-to-large-sized parts for various sectors, including rail transport and shipbuilding, power generation, heavy industry, and automobile.
Features of Glopho
-
- Ultra-high precision
- Intelligent Indication
- Movable Scale Bars to Increase Precision
- Adaptor for Feature Measurement
- Wireless Connection for Cable-free Photogrammetry
- Intuitive and User-friendly Interface
Ultra-high Precision
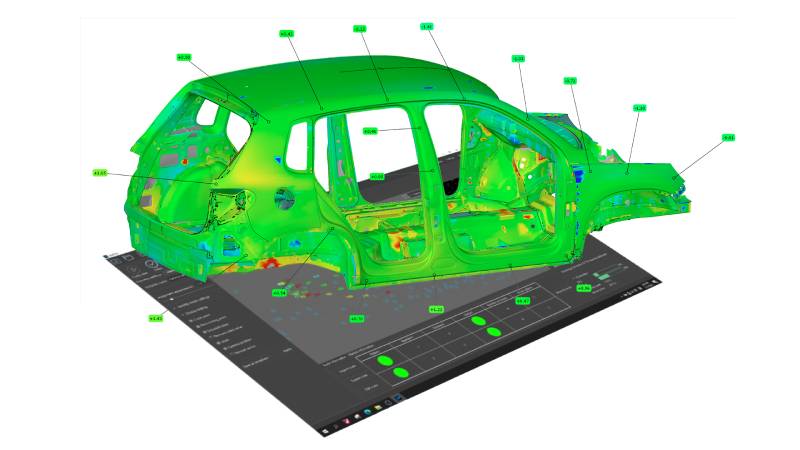
Glopho offers a complete toolset for all photogrammetry workflows with advanced operational procedure design and a simple user interface. Thanks to its sophisticated algorithms, its coordinate measurement accuracy can be up to 0.012 mm/m.
It can automatically exclude targets with high RMS error from calculations to improve accuracy. With robust performance in photogrammetry, it is capable of meeting the requirements of medium-to-large-scale parts.
Intelligent Indication
All the information about shooting, such as shooting distance, shooting angles, and numbers of photos taken, are showcased intuitively on the interface. With coded targets and scale bars shown in five colors to indicate different levels of data acquisition, users can intuitively monitor the shooting status.
When errors occur, intelligent indicators pop up. Therefore, users can adjust shooting accordingly or re-shoot targets without sufficient shooting angles to ensure high-precision results.

Movable and Customized Scale Bars
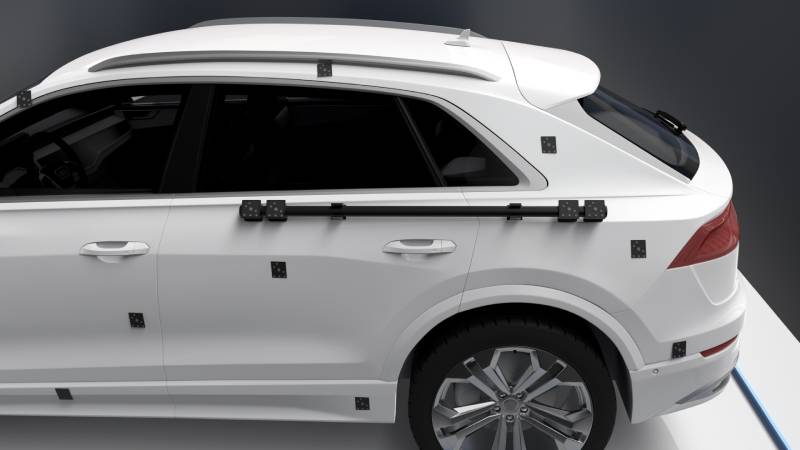
To further enhance the efficiency and increase precision, Glopho supports the use of multiple scale bars to serve as a datum for capturing data for objects longer than 3 meters. After the data of a scale bar is fully captured and saved, users can choose to move the scale bar to a new position.
In this way, the precision can be enhanced without the need for extra scale bars. Thanks to its high flexibility, Glopho is compatible with customized scale bars or those not included with it.
Adaptor for Feature Measurement
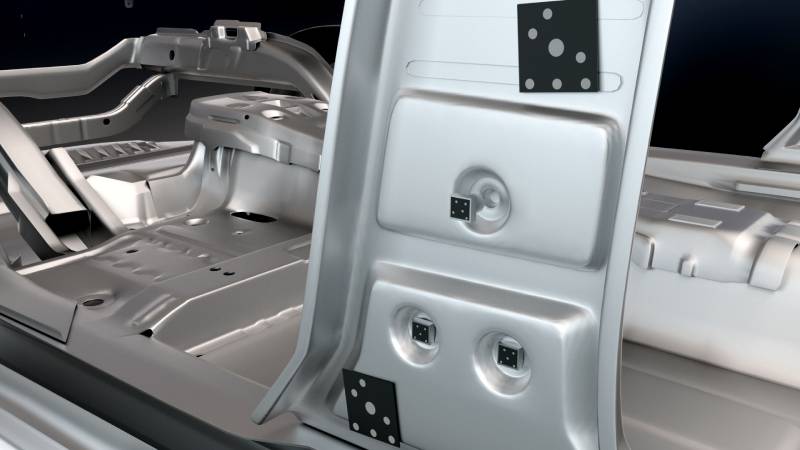
It supports simple signalizing with standard and customized adaptors for feature measurement. When the process of photogrammetry completes, technicians and engineers can obtain geometric features of the workpiece such as hole boundary and hole center.
It is ideal for measuring inspection tools, holes on sheet metal, and cylindrical parts to elevate the measurement efficiency on large parts.
High Flexibility
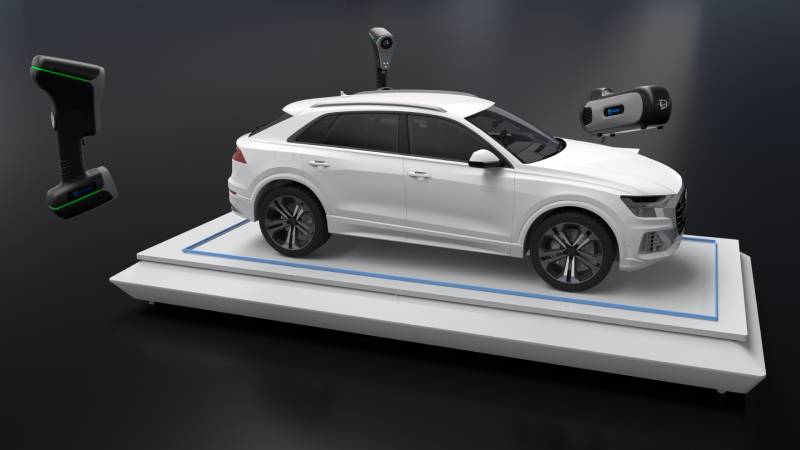
Glopho can be seamlessly integrated into the high-precision photogrammetry process of Scantech’s MSCAN-L15 Photogrammetry System, KSCAN-Magic 3D Laser Scanner, AXE-B17 3D Scanner.
By combing it with our wireless communication link AirGo, mobile 3D measurement with no power supply is now possible. Users can take photos from any location they want with maximum freedom of movement and view data on mobile screens.
User-friendly Operation
Glopho is specifically created for both resilience and simplicity. It boasts an intuitive interface with easy-to-understand operations. The whole shooting process is displayed on the interface so that users can troubleshoot any potential errors.
Additionally, engineers can resume photogrammetry tasks interrupted by importing project files in one click. With its operating environment diagnostics tool, engineers can check whether the computer configuration, including CPU, memory, and graphics card, meets the requirements. It allows users to personalize the interface by choosing between different layouts.
