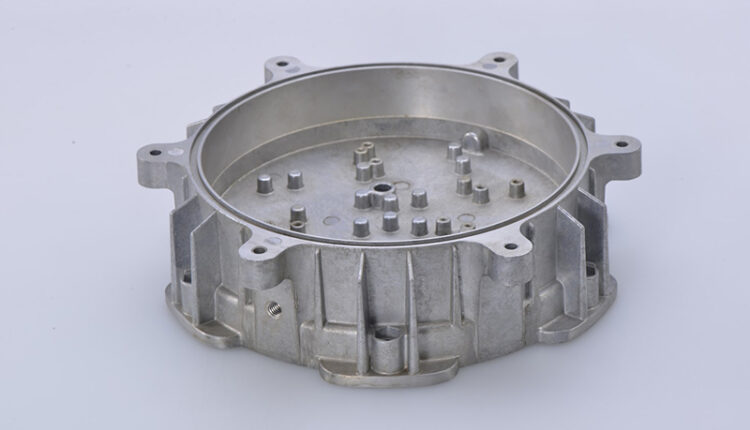
Casting manufacturers are striving to produce parts that meet tight tolerance requirements. By capturing the full and accurate geometric data of parts, 3D scanning can contribute to the mold construction, blank inspection, and postprocessing, greatly enhancing efficiency.
Scantech’s portable 3D scanners can perform non-contact measurement of casting parts ranging from small to large scales. Compared with the contact measurement technology, it can capture the contour of complex surfaces like free-form surfaces more quickly and completely and can reflect the deformation trend comprehensively.
The full-area measurement ensures a rapid inspection and repair of parts, thus shortening the production cycle and optimizing quality control.

Common types of casting parts
Casting with intricate details
Casting parts such as automobile transmission shell and engine cylinder are featured by complex contours and hard-to-reach areas. Traditional measurement methods are not sufficient to measure these kinds of parts.
Casting with curved surfaces
The pump shell is a kind of casting part with typically curved surfaces. Its curved flow passages pose a great challenge for the conventional measurement method, which cannot quantify the measurement results precisely.
Casting of large scale
Large-scale castings like wind turbines are not easy to be transported. The inspection of these parts can be challenging without portable measurement devices. Additionally, both their inner and outer surfaces have to be scanned, the workload of which is quite heavy.

Traditional Methods
Traditional measuring tools
Measuring casting parts with traditional measuring tools such as calipers, tape measures, and straight rulers are very time-consuming and inefficient. They are not capable of capturing complex parts and curved surfaces, which may end up with deviations and non-accurate data.
CMM
Due to its limited measurement ranges, CMM can measure parts of the object instead of a full-scale measurement. Parts with confined areas and curved surfaces are not easy to be measured. Besides, its price and maintenance costs are high.

A three-dimensional scanner allows users to capture the complete 3D data of the object thanks to its non-contact measurement. By contrast, contact measurement methods are limited by confined areas and dead angles due to the limited measurement areas of its probe.
The portable 3D scanner is capable of conducting measurements right on the shop floor, which saves the trouble of transporting parts around. Its compact size also enables users to measure the inner surface of casting parts.

Application of 3D scanners in the casting industry
First article inspection
Scenario: In the process of trial production, the product needs to be verified to meet the design requirements.
Solution: With 3D scanned data, the first trial-produced product that meets the requirement can be digitized and archived as a theoretical reference for further inspection.

Mold archiving
Scenario: The mold corrected has not been updated in the design drawing file in time.
Solution: By 3D scanning, the qualified mold can be digitized and archived as a reliable and comprehensive basis for mold repair.

Product inspection
Scenario: During mass production, random inspection is required to ensure product quality.
Solution: With a large amount of scanned data, manufacturers can conduct quantitative analysis of products, and monitor how the quality varies over the production.

This content was first published on the Scantech3D website.

