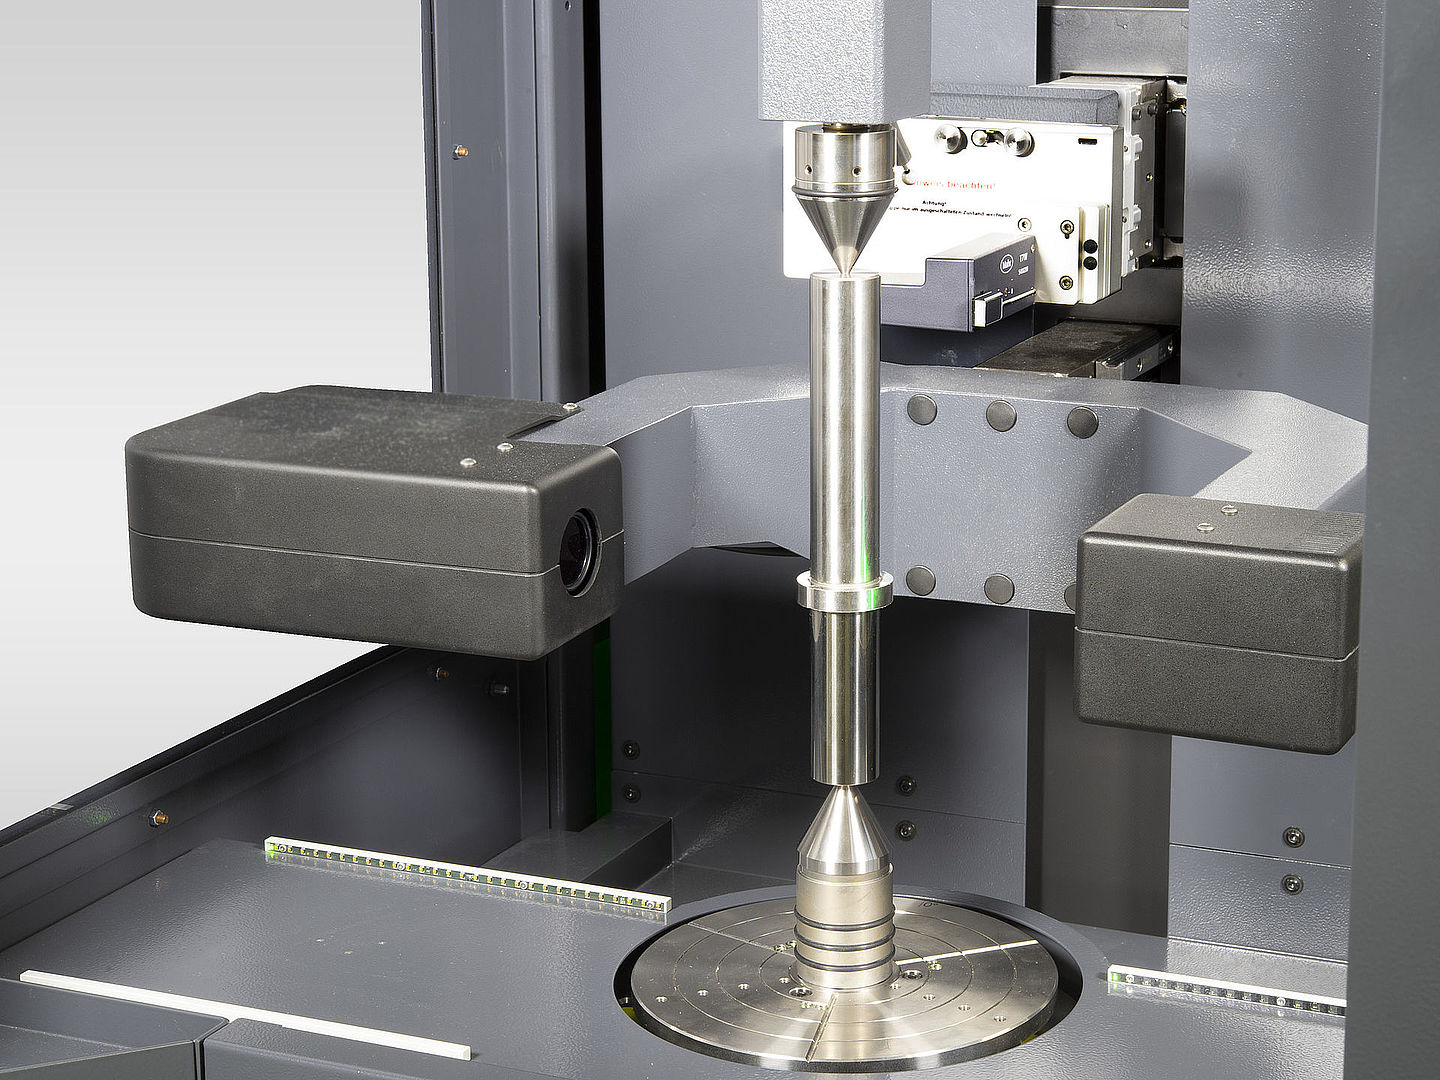
Inspecting shafts and other rotationally symmetrical workpieces is becoming increasingly demanding due to tight tolerances and a wide range of features. Customers also expect reliable and fast measurement technology that they can use close to production. With its matrix camera, for example installed in the Mar4D PLQ cylinder coordinate measuring machine, Mahr offers the contemporary solution for these requirements.
Line scan versus matrix camera
The transmitted light method captures various workpiece features extremely flexibly, accurately and quickly. There are basically two different technologies for implementing this process. These differ in the types of camera used: the line scan camera or the matrix camera.
The line scan camera uses so-called line scan technology to generate measuring points of the workpiece dimensions, each of which is created from a single line of pixels. As a result, only individual points are created that are independent of each other and have no connection. As the object moves past in front of the camera, software finally assembles the overall image line by line – which is only possible to a limited extent. The final measurement is made using this calculated image of the workpiece.
The disadvantages of the line scan camera:
- difficult to capture very small features due to the lower resolution between the individual lines
- relatively lengthy measuring process
- permanent movement of the Z-axis, thus measurement inaccuracy during scanning
- no live image of the measurement

The matrix camera inspects rotationally symmetrical workpieces in the Mar4D PLQ.
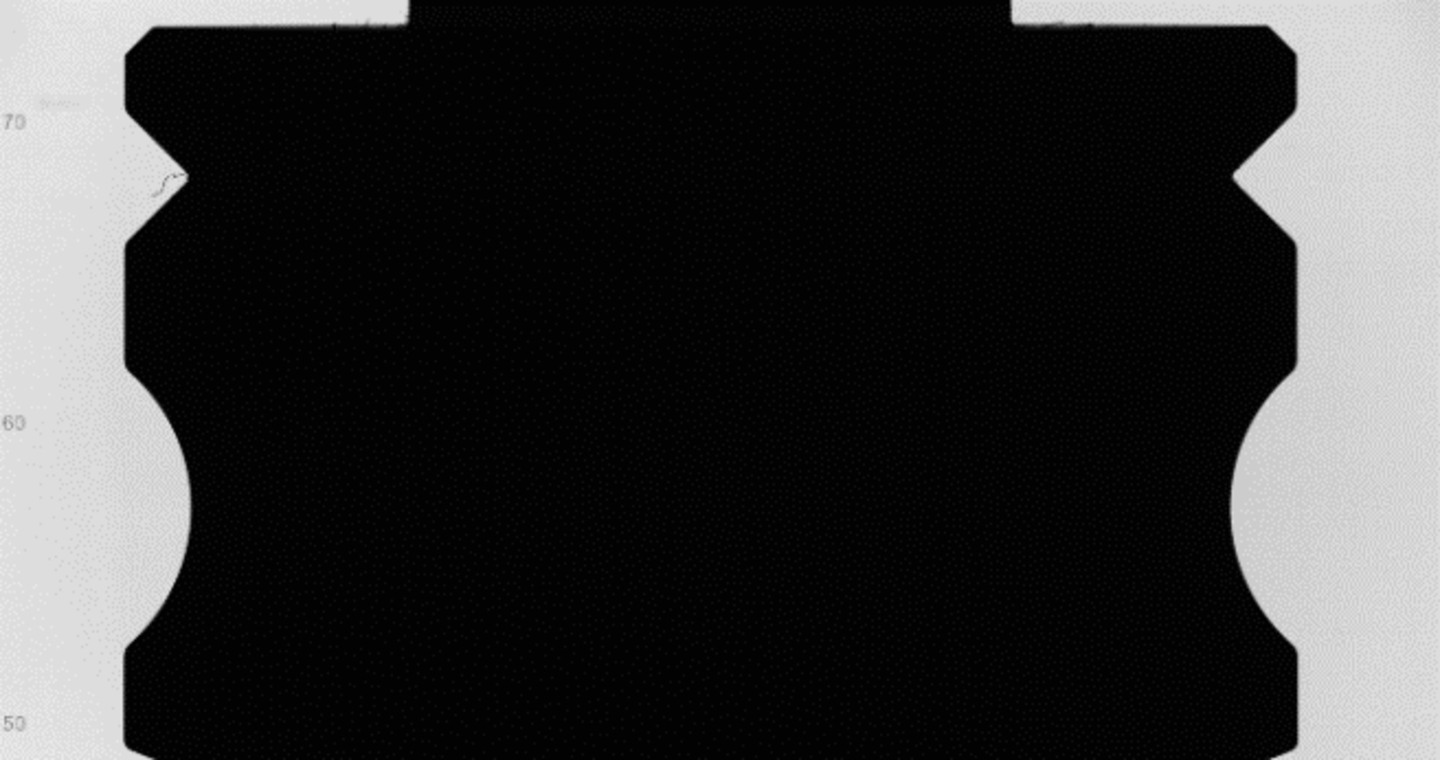
The matrix camera, on the other hand, offers a modern and, thanks to high resolution, exact alternative. It captures the workpiece to be measured or an area of the workpiece with all desired features as a true coherent image. As a result, the correlation of the measuring points to the workpiece is maintained. In the past, so-called matrix array measurements were considered somewhat slower than line scan camera measurements due to the larger amount of data involved. However, this gap has now closed due to technological advancements including shorter processing times and special programs for measurement optimization.

Live image of a workpiece measured with matrix camera.
Today the advantages of the matrix camera compared to the line scan camera are
- higher resolution and therefore more accurate and stable measurements
- very fast measurement and thus time saving
- measurement of much smaller and more complex features, e.g. contour, twist
- homogeneity of the measured points, since all are captured simultaneously by the same sensor
- Evaluation of even the smallest details thanks to zoom functions
Incidentally, the operator can also switch the matrix camera to strip mode if required, which further increases the measuring speed. The exact number of relevant lines can be optimally determined for the respective application – down to a single line. For example, in a concentricity measurement, the strip height can be optimally set for a turned and ground workpiece. This flexibility allows Mahr to always provide the optimal number of pixels.
How the matrix camera works
The matrix camera provides a live image and, depending on the stripe height, can record several thousand images per second. All pixels of the camera are geometrically fixed to each other. The large number of images and their optional averaging require the highest precision, especially with small contour elements. In addition, no linear measuring axes are moved during the in-scan measurement of the matrix camera, which additionally contributes to the measuring accuracy.

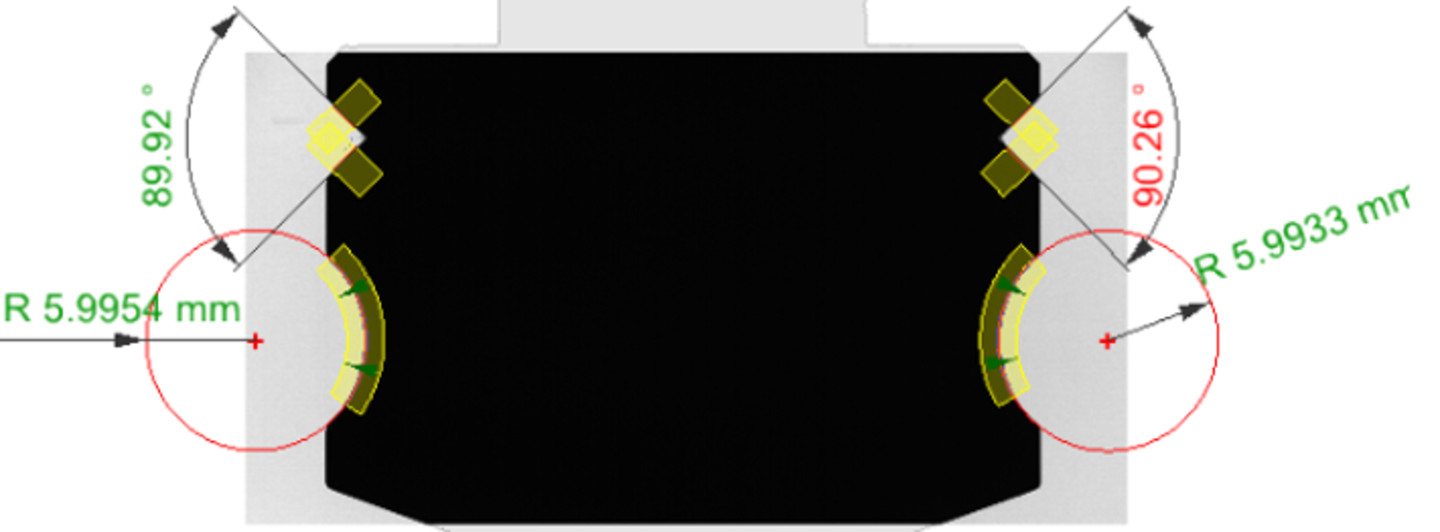
The matrix camera can determine entire angles and radii of the workpiece in one image.
An example explains how the matrix camera works: The contour features of the workpiece to be inspected are programmed and measured in the live image or on the preview scan, in this case, angles and radii. The search beam for edge detection is always aligned from dark to light and always 90 ° to the surface. As a result, the matrix camera reliably finds the edges and helps eliminate contamination.
This content was first published on the Mahr website.

