Creaform: 3D PRINTED PARTS: SCANNING EVALUATION BECAME THE NORM IN MOST PROJECTS
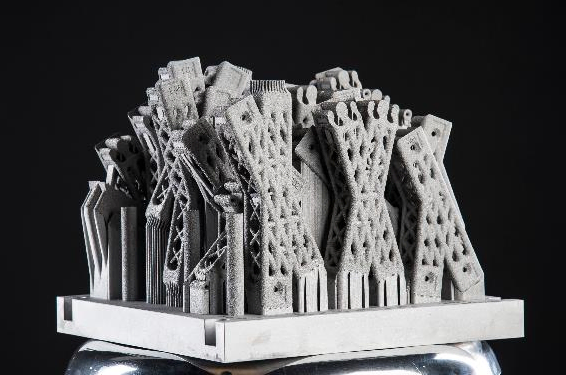
Focusing on metal 3D printing (additive manufacturing), the company APWORKS GmbH, located in Taufkirchen, Gemany, covers the entire value chain, from optimized component and part design to the choice of suitable materials, from prototyping to qualified serial production. Customers in robotics, mechanical engineering, automotive, medical technology and aerospace benefit from functionally integrated and optimized parts with reduced weight and lead time. 3D printing also allows much more complex geometries than were previously possible.
APWORLS is part of the AIRBUS Group and produces additive manufacturing parts which are used extensively across a wide range of functional and safety-critical applications in the fields of Aerospace, Defense, Space, and Motorsport. To guarantee a high quality of the 3D printed metal parts, the company has to check the distortions after the printing and after the post processing. Those “Bionic”-like geometries are not easily measurable with conventional devices.
As the quality demands of their customers increased, and as APWORKS didn’t have a reliable way to evaluate the quality of the manufactured parts, they decided to purchase a 3D scanner. The device needed to be reliable, easy to use and handy for the quality control team. It should be portable, to be carried and used in different locations and to provide the freedom to inspect the part from different angles and in hard to access areas.
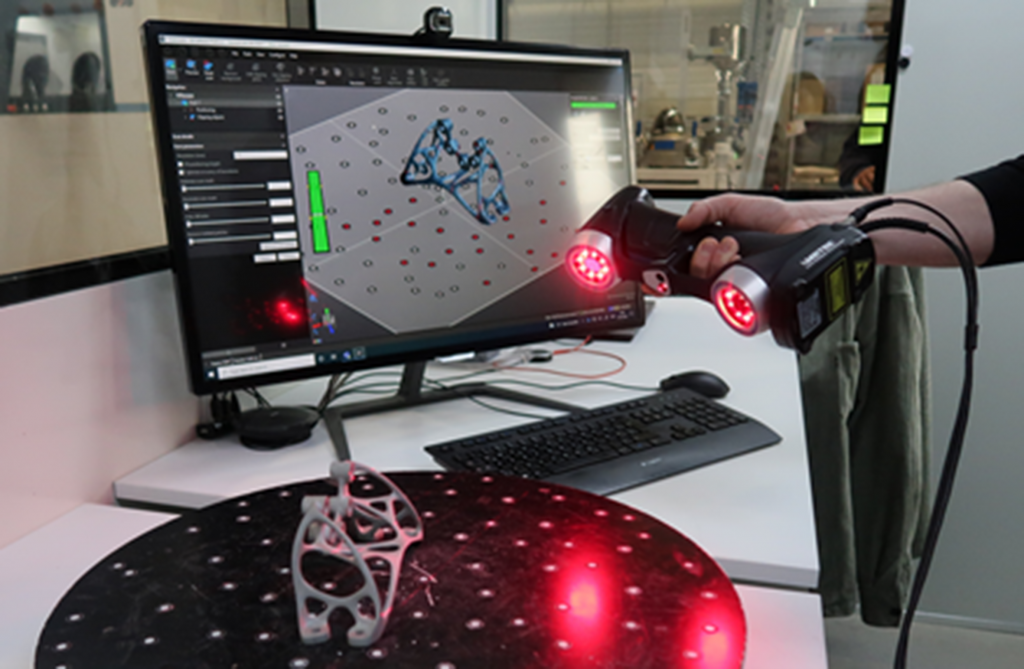
The HandySCAN 3D from Creaform met those requirements and stood out because of its speed of measurement, and how easy the merge of scan data and the export to .stl files is, compared to other technologies on the market. APWORKS mentioned that for them it was also important to visualize the entire surface evaluation in real time.
In terms of accuracy, the 3D scanner is used when the profile tolerances, that APWORKS calculates and recommends, fulfill the requirements of the customers. Depending on the size of the part (the longer it is, the more it distorts) they establish or recommend tolerances for their customers, which consider the part itself and the scanner. If there are tolerance requirements about features like diameters, distances, and positions, the part is measured with conventional devices or via CMM. The HandySCAN 3D is therefore a good enhancement of their metrology equipment, as it is certified by Airbus and has been added to the Airbus Technical Equipment Manual (TEM).
The implementation of the HandySCAN 3D within the company worked out smoothly. They ran some MSA (Measurement System Analysis) tests and prepared instructions with specific settings for their different materials. The onboard for the quality team was very quick as the equipment is easy to use and the VXelements software very user-friendly.
Inspection and Evaluation of a Bugatti Exhaust Finisher
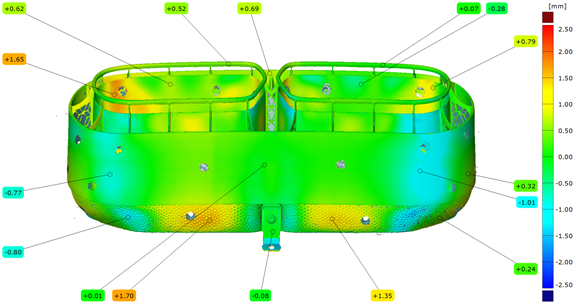
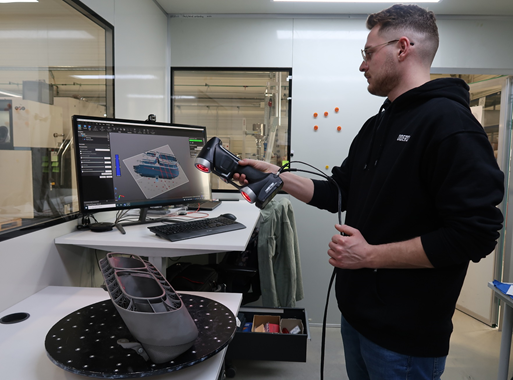
During the development of the exhaust finisher for the Bugatti Chiron and the following serial production phase of the part, 3D scanning and surface comparison was the only way to manage both the quality and time requirements. The request was to get a repeatable geometry which provides the right position of holding (assembly) points.

During the development phase, APWORKS had to implement several changes to the evaluation. For the holding points (and the whole profile in general), some iterations in the geometry were needed like, for example, the addition or reduction of offsets to get the right position or form. They needed to do the evaluation as soon as possible in order to make changes again if necessary. Thanks to the HandySCAN 3D the company did not have any problem to implement changes in a short time. It is possible carry out tests and evaluation at a fast pace. This eases the work when there is a need for many iterations of the geometry.
The speed and accuracy of the Creaform HandySCAN 3D were key factors for the success of the project. Without the scanner, APWORKS would not have been able to carry out the project with all its requirements. With the Creaform scanner, APWORKS does not need to compromise on quality, form, or speed. The 3D scanning evaluation has become the norm in most of their projects and is now expected by their customers.
Return on Investment
With a good project planning, APWORKS is now able to provide feedback to their customer the same day the part is fully printed. The dimensional evaluation of the printed part takes less than 1 hour thanks to the scanner. It is now possible to detect potential failed parts early, which saves time and non-quality costs.
Arnaud Rosenberger, Head of Additive Manufacturing Process at APWORKS states that “Every future project comes with a 3D measurement step. Therefore, it is our plan to continue using our HandySCAN 3D as our reliable and handy alternative. It allows us to have an effective and fast evaluation of the quality of our parts which enables us to satisfy the requirements and expectations of our customers.”
This content was first published on the Creaform website.


