3D Scantech: Inspection of Stamping Part and 3D Laser Scanning
Introduction to Automotive Stamping Part
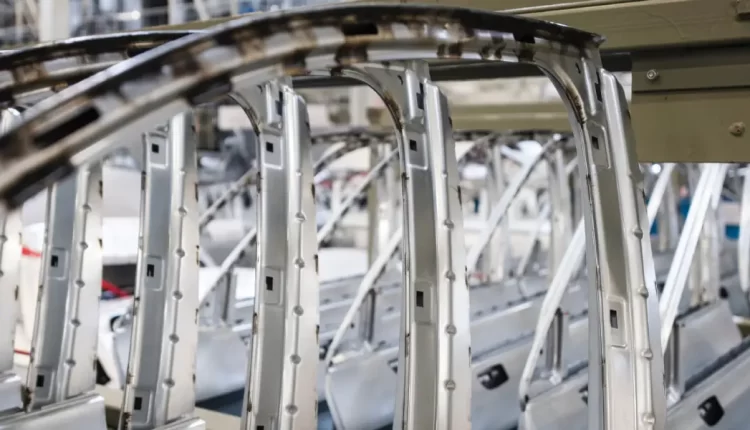
Metal stamping, including copper, brass, and aluminum stamping, is widely used for creating a variety of components. It is estimated that metal stamping parts account for 60% to 70% of automotive components in modern automobile manufacturing.
Stamping parts are used to manufacture critical components, including structural elements, the chassis, and mechanical components in the engine.
Each vehicle contains more than 1,500 stamping parts on average, which are eventually welded into a body-in-white. Sheet metal parts usually come in a large volume and large variety. If some parts are manufactured poorly, the part assembled later may fail to meet the requirement of GD&T.

Comparison of Various Inspection Methods
CMM: Coordinate Measuring Machine (CMM) is the most commonly used means of inspection. It can measure single points with high precision and can be programmed to measure full-field data.
However, it is expensive and it is not efficient enough to measure parts. Besides, it has to be restored in a dedicated lab with constant temperature and humidity, resulting in high maintenance costs.
Inspection Gauge: Dedicated inspection gauges can inspect key positions efficiently. However, a variety of inspection gauges are needed to inspect different geometries and features.
After purchasing these gauges, high operating expenses will kick in, including storage, maintenance, and calibration costs.
Arm: The arm is commonly used before, which requires operators to be equipped with professional knowledge and skills to operate it properly. It is not efficient enough for batch measurement and inspection.
What can Scantech’s 3D Scanner Help?
Scantech offers portable 3D laser scanners and automated 3D measurement and inspection systems for manufacturers to assist in product development and quality control.

These advanced and professional 3D measurement and inspection systems can increase your productivity and optimize your workflows in product life-cycle management without compromising on accuracy or efficiency.
Thanks to precision, reliability, and portability, Scantech’s 3D scanners can measure parts with hard-to-reach areas or complex geometries. Engineers, product designers, and researchers use 3D scanners for automotive, aerospace, heavy machinery, and 3D printing.
The following part will show us how TrackScan-P 550 can help in the 3D inspection of automotive stamping parts in terms of RPS alignment, GD&T inspection, spring-back analysis, and trimming line inspection.

- RPS Alignment
With TrackScan-P550, you can use the edge module to perfectly obtain the closed features such as holes, and slots used for RPS alignment with higher accuracy in combination with shadow-less auxiliary lighting modules.

- Inspection of Hole Diameter and Pitch Holes
Taking advantage of 3D laser scanning inspection, users can obtain precise and full-field data. Therefore, they can inspect the hole diameter and the pitch of holes efficiently. It helps manufacturers ensure the part can be successfully fixed onto the welded fixture for further processing.


- Springback Analysis
It is the best time to reduce or eliminate the spring backs of metal stamping parts during the product design and mold development stages. With the help of 3D data captured and finite element analysis, engineers can precisely forecast the amount of spring back and compensate for it.

During the mass production stage, they can compare the scan data obtained by the optical tracking 3D scanner TrackScan-P 550 with the original CAD to quickly locate the position and obtain magnitudes of spring back.
It can help technicians to locate problems quickly and come up with corrective actions and guide mold repair.

- Trimming Line Inspection
The trimming line is one of the important items to be inspected for the stamping part. The good quality of trimming lines ensures the parts in the final assembly conform to vehicle specifications. It means that no gaps or interference occur during the assembly stage.

If any irregular trimming lines are founded, manufacturers need to shut down the machine and check whether there are positioning deviations or inaccurate feeding.
Using Scantech’s 3D scanners, they can obtain accurate coordinates and locate the root causes efficiently and solve problems in time to avoid losses.

Scantech Automated Measurement System
Scantech offers automated 3D inspection solutions for quality control for automotive stamping parts. With our in-house developed AutoScan-T, we inspected and analyzed surface deviation, hole diameter, hole position, hole-to-hole distance, boundary, and gauge of its stamping parts.
This content was first published on the 3D Scantech website.

