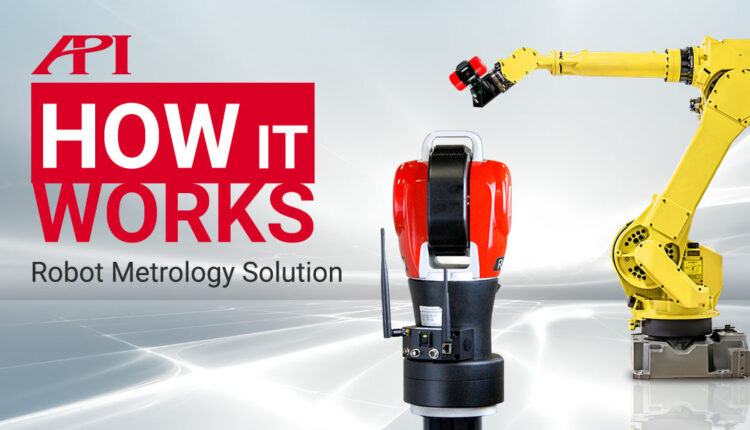
Throughout the nearly 60 years of industrial robot design, production, and performance, one significant problem has remained: Robots have excellent repeatability, but their Trueness keeps them from being Accurate. As we’ve discussed in other videos, in order to be truly Accurate, one needs to be Repeatably True to a desired point. This lack of True Accuracy can limit Industrial Robots applications keep them from reaching their full potential, especially in the highest tolerance industries.
To help combat this inaccuracy, Industrial Robot calibration has been a main focus of robot manufacturers and organizations like the International Organization for Standardization (ISO) for several decades. In fact, in 1998, ISO released a set of guidelines for manipulating and testing industrial robots. These guidelines fall under ISO 9283 and identify 14 different performance characteristics for industrial robots that must be tested to ensure performance, including pose accuracy and repeatability, distance accuracy and repeatability, position stabilization and overshoot, path accuracy and repeatability (with and without reorientation), and concerning deviations.
Concurrent with these standards, there have been great strides taken with automated Laser Tracker targets and softwares that can create virtual robot environments to help unlock the full potential of these Industrial Robots. New calibration packages, like API’s Robot Metrology Solution (RMS) have helped expand robot applications to include machining, drilling, and 3D printing for high tolerance industries, make individualized robots more uniform, and restore performance to aging units and expand their lifespan.
We wanted to take a deeper look at how this calibration of Industrial Robots actually works, and to understand that, we need to look at the three main steps that calibration must follow: Setup, Measurements, and Calibration and Compensation.
- Setup
In order to test any of the parameters laid out by ISO 9283, the robot must be setup to move along a clearly defined path inside of a “test cube.” The test cube is supposed to be largest cube that can fit inside of the robot’s working envelope. Therefore, the software running the digital environment for the robot and the robot controller must both be setup up to run the desired path to test one or more of the ISO characteristics. This DH Kinematic or Volumetric Error Compensation (VEC) model will be used as a direct reference point in the next two steps. During this process, the Laser Tracker (like API’s Radian) is setup to measure and a Smart Target (like API’s SmartTrack Sensor) or collection of SMRs is mounted directly to the robot’s end-effector.
- Measurements
Once the software, tracker, and target are ready, the robot begins to move through its pre-programmed path. Throughout its movements, the Laser Tracker follows the Smart Target, which automatically adjusts its position to keep the beam. The two collect data on the robot’s position, accurate to within a handful of microns, and feed that data back to the software. In the software, the tracker’s real-time data is laid over the intended path data in the digital model. This allows the software to determine deviations from the path in real-time to correct robot performance during its path. To meet ISO 9283 standards, position accuracy and repeatability should be measured at five different configurations 30 times. But RMS and many other calibration packages measure significantly more configurations to match today’s more complex robot designs.
- Calibration and Compensation
Even as path corrections can be done in real-time, the Laser Tracker’s data is saved for a more in-depth comparison to the DH Kinematic or VEC model after the path is compete. This data can be used as a reference for an additional path to test the real-time corrections. They are also automatically uploaded into the robot’s controller for a more permanent performance improvement. The measurement values can also be used diagnostically to identify mechanical issues with the robot that may be affecting performance and need repair.
In short, Industrial Robot Calibration involves a Laser Tracker communicating with a smart Target or series of SMRs mounted to the Robot’s end effector to monitor the robot’s absolute position as it goes through its paths. Calibration software can then compare this gathered data to the DH Kinematic model, communicating corrections in the robot path and position directly to the machine’s controller in real-time.
API’s RMS offers a complete robot improvement solution, which combining the 6DoF Radian Laser Tracker and STS with proprietary software to evaluate robot performance. RMS offers 12x performance improvement and can help extend the life of your equipment. To learn more about RMS or any of API’s calibration offerings (including Laser Trackers, Machine Tools, and CMMs), visit apimetrology.com and contact us to speak to a Real Metrologist today.
Sources:

