Mobile 3D measuring device from Mahr optimizes grinding processes on wind turbines
Wind turbines generate up to 70 times more energy during their lifetime than is required for their production, use and disposal. This makes this technology not only ecologically but also economically highly interesting. In order to maximize their energy yield, the turbines have grown considerably in height in recent years: the rotor blades alone, whose tips rotate at speeds of up to 300 kilometers per hour, are now up to 120 meters long and weigh up to 40 tons. Their performance is tested at the Fraunhofer Institute for Wind Energy Systems (IWES). As an industry institute, Fraunhofer IWES has dedicated itself entirely to wind energy and hydrogen technology. At the IWES BladeMaker Demo Center in Bremerhaven, manufacturing technologies and automation solutions for rotor blade production are developed.
Complex grinding processes
Rotor blades consist mainly of epoxy resins and glass fibres. In order to remove unevenness and prepare the surfaces for subsequent painting, the raw components are manually sanded. This is because GRP surfaces can have various surface structures due to their material heterogeneity and possible air inclusions in the resin, which have a negative effect on adhesion or the surface of the coating. When machining GFRP, different separation mechanisms also occur, which result from the cutting direction of the abrasive grain to the glass fiber and depend on whether small areas of pure resin or fiber bundles are exposed on the surface.
“This can result in different surface structures and increased wear of the abrasive grain. This makes it very costly to set a consistent surface quality over the entire surface of the rotor blade,” explains Sören Eden, research associate at IWES. “We were interested in what the surface and the associated grinding process must look like so that the paint layer holds up best under erosion conditions.” Up to now, this has been done primarily using empirical values from the abrasive and paint manufacturers.
Confocal measurement technology to combat erosion
The coating layer protects against UV radiation and is important for aerodynamics: smooth surfaces have less air resistance, so that the bottom line is that the wind yield increases. In order to ensure the best possible pre-treatment quality of the surfaces and the same level of paint adhesion, Fraunhofer IWES was looking for a measurement system that could reliably map surface topographies and two-dimensional roughness properties in the lower micrometer range – before and after painting. “Another aspect was the mobility of such a system: after all, we are working on large components, we can’t saw anything out and carry it over for a moment.
The measuring device has to be brought to the workpiece, not the other way around,” explains Eden. Due to the component sizes and the heterogeneous surface structures, tactile measuring systems were ruled out from the outset – a perfect structure reproduction can only be achieved with a 3D system. Eden went in search of a suitable system and found what he was looking for with measurement technology manufacturer Mahr. The Göttingen-based company currently offers the only confocal mobile device with high resolution on the market.
Test measurements on site
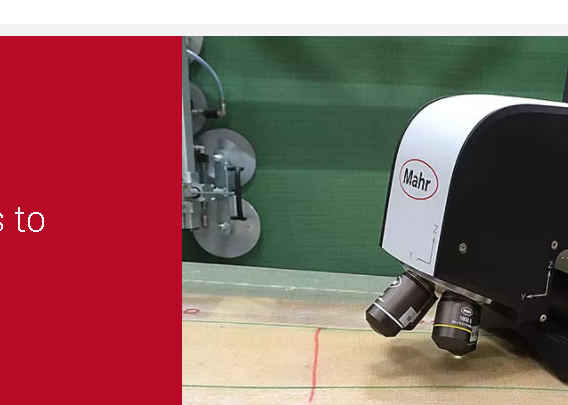
The scientist invited the metrology professionals to the IWES in Bremerhaven. In his luggage: a MarSurf CM mobile demo device, which Christopher Wallmann, Field Sales Engineer at Mahr, presented to the IWES team and with which he immediately carried out test measurements on the rotor blades during this first appointment. “Within a few minutes, this device is ready for use on site at an object. It weighs only eight kilograms and is correspondingly flexible,” Wallmann explains. “Even large-area measurements on objects with a radius of curvature, as is the case on rotor blades, are possible with precision thanks to the integrated shape tracing function.”
The optical measuring system is based on confocal technology and is also suitable for use in harsh production environments. Many measurement settings can be loaded using the template function when the system is started; users only need to load the template intended for the measurement. The measurement range is then automatically set by the so-called Range Finder. “During stitching, in which individual images are combined to form an overall image, the shape tracing function supports fast measurement and calculates the surface curvature at the same time,” explains the measurement specialist. The typical measurement time is five to ten seconds; the measurement results are transferred directly to a freely definable measurement protocol. The MarSurf CM mobile has now been in use in Bremerhaven since June 2020. It is part of Mahr’s optical portfolio, which includes white light interferometry and profilometry in addition to confocal devices.

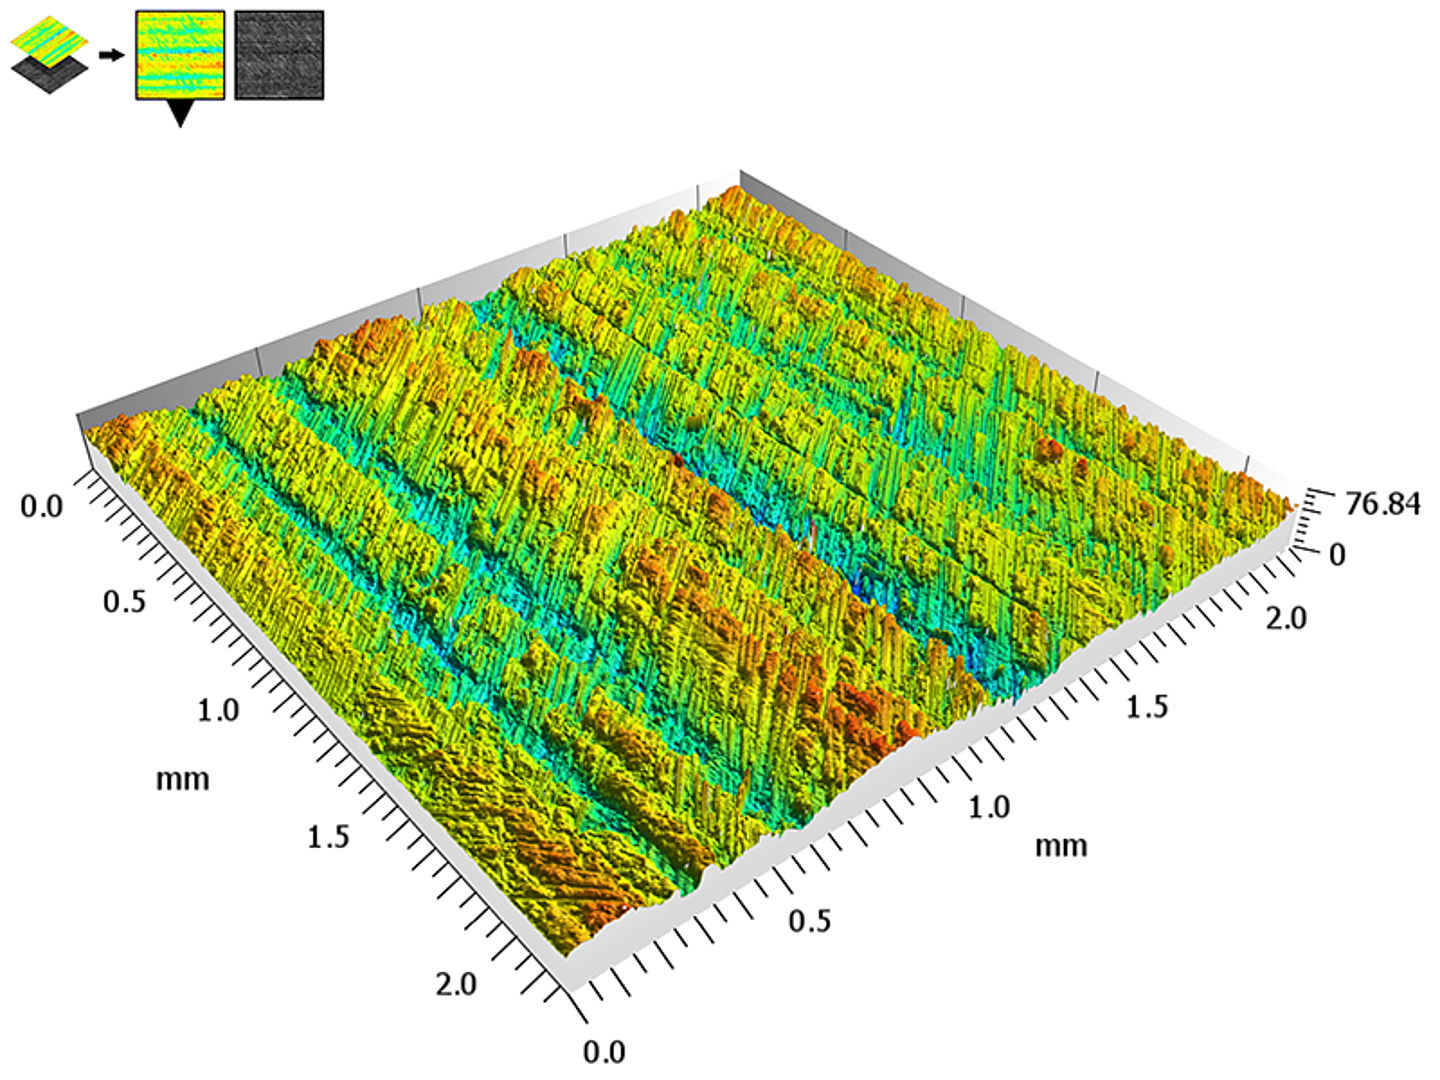
The figure shows the 3D image of the surface of a rotor blade section. Source: Fraunhofer IWES
This content was originally published on the Mahr website.

