Mitsubishi Logisnext Europe AB is a company that works with flexible transport solutions in the form of, among other things, trucks used in warehouses and for logistics. At its truck factory in Mölnlycke just outside Gothenburg, a new measurement requirement arose when they wanted to increase the quality of their manufactured trucks. They wanted to become better at quality-assuring parts from subcontractors and measuring various details. As the previous technology had become obsolete, they were interested in taking an unbiased look at new alternatives.
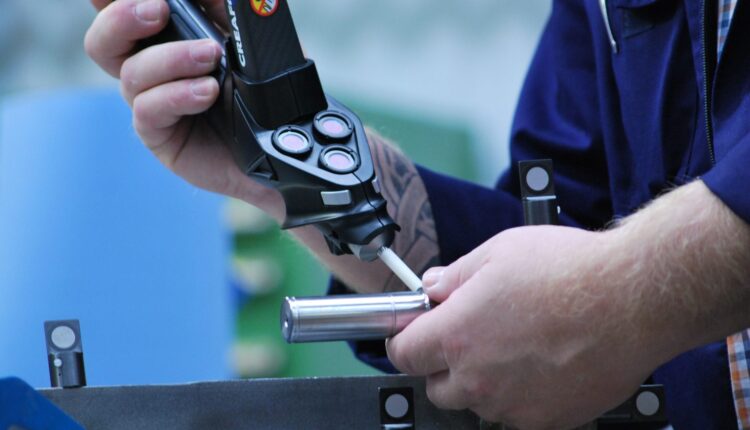
Rebecka Tegnander at Mitsubishi Logisnext Europe AB, which is responsible for supplier quality, then contacted Anders Carlström, who is a 3D measurement technician for MLT machines and laser technology. He presented the 3D measuring products MLT offers, and shortly afterward, he came out and gave a demonstration onsite to show what 3D technology could contribute to quality control. No plans were put in place there and then, but shortly after the demonstration, there was a need to replace the company’s original measuring arm. That said, both hardware and software were replaced with Creaform’s HandyPROBE arm-free portable probing system and the Polyworks program. This was also combined with training and support from MLT to enable a smooth transition between the systems.
Since Mitsubishi Logisnext Europe AB had set its sights on the future, they also had the foresight to hire their own measurement technician who will work with 3D measurement in the future. Over the years, Anders has been available as support and available for further training of the new resource employed by Mitsubishi Logisnext Europe AB.
Rebecka says, “We really appreciated that Anders was able to quickly understand our situation and our more complex assignments, so every detail was discussed a lot before the results were available. We are very pleased with the results.
The results of this investment, Rebecka says, are many. But overall, it can be said that the quality of the products leaving the factory is better. It is now also easier to measure and report so that the client has a better understanding of the results.
“All individual measurement assignments provide an improvement as long as we follow up on them. For example, if we express dissatisfaction to a supplier with a good measurement basis, the next delivery will be right or better. Alternatively, you can correct an internal welding fixture in the right place, thanks to measurement data.
In the future, they aim for their investment in new staff and equipment to provide a more flexible situation. They also aim for qualified technicians to be able to make repeated measurements of already programed assignments in order to further strengthen the quality work.
This content was originally published on the Creaform website.

