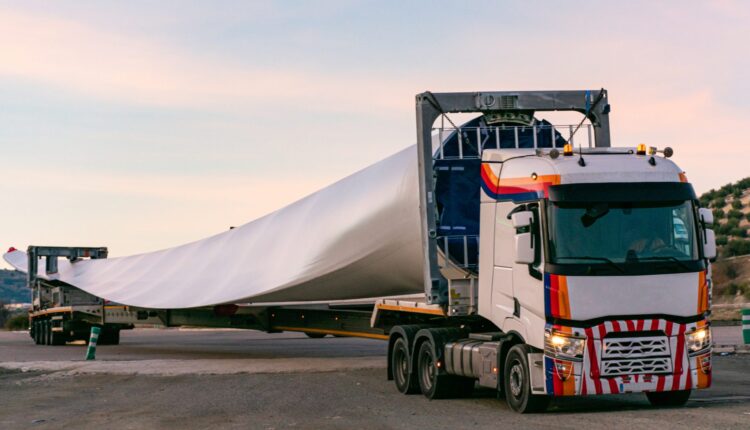
Many manufacturers in the aerospace, transportation, and power generation industry, such as Austrian manufacturer ANDRITZ, require carrying out quality control inspections on large parts that can measure anywhere from 2 to 10 meters—and even bigger.
Unfortunately, conventional technologies, such as traditional coordinate measuring machines (CMMs), laser trackers, and measuring arms, prove to be ill-conceived for inspecting large parts.
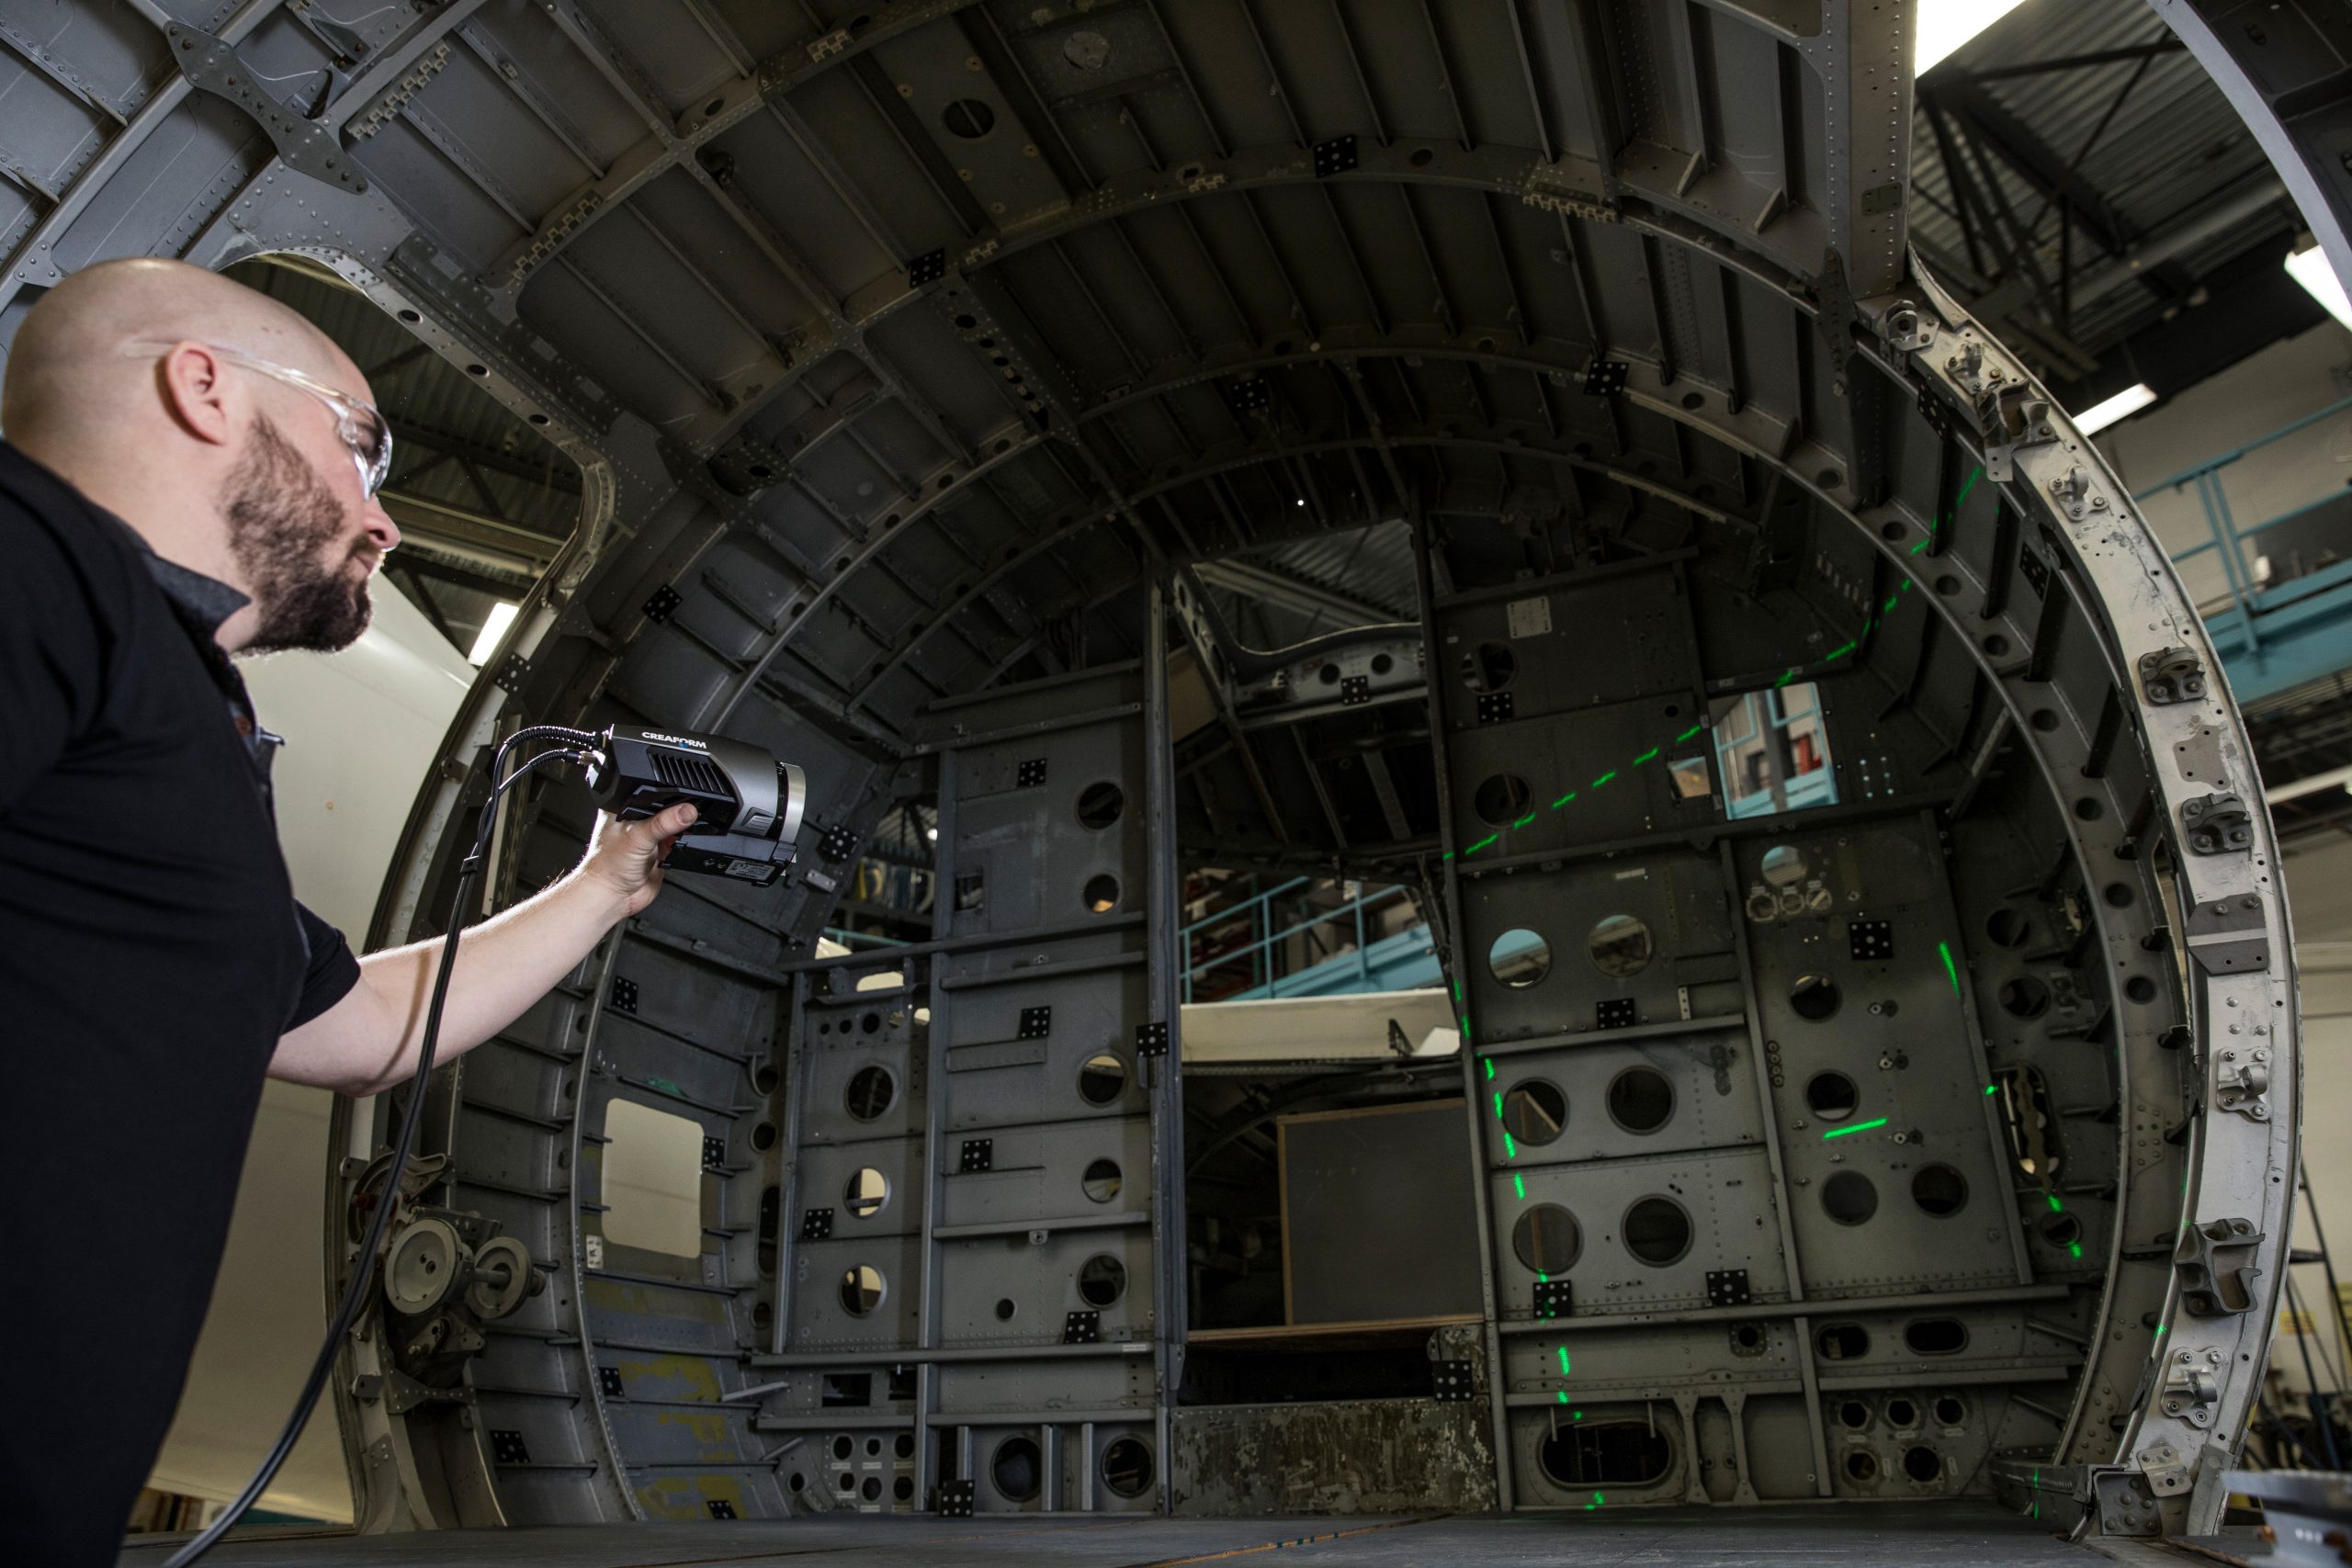
These limitations are paving the way for next-generation portable 3D scanners (HandySCAN 3D) and optical CMMs (MaxSHOT 3D), which offer many advantages over their predecessors. They can both be used by operators of any skill level right on the production floor, all while generating highly accurate and reliable scan data at impressive speeds. More and more manufacturers are opting for these new technologies in order to elevate and accelerate their quality control for large-scale projects.

If you are on the market for a new metrology solution to conduct 3D measurements on large parts, here are some factors to consider.
The complexity and timelines of your quality control workflows
Depending on complex and time-sensitive your inspections are, it is important to find a 3D measurement system that can generate accurate and repeatable results quickly. Oftentimes, with traditional tools, there is either a lot of back and forth from the metrology lab, like with CMMs, complicated fixed setups, and alignments, as is the case with articulated arms. In both cases, a lot of time is wasted configuring the devices to get them to work, which can lengthen inspection cycle times.
The location of your inspections
Inspecting large parts using a CMM in a metrology lab is inherently difficult, complicated, and often cost-prohibited. Many parts are just too big to be moved into the lab! Some manufacturers are forced to make capital investments on a highly customized CMM for large parts. Simply transporting large parts to the lab to be inspected can be expensive and inefficient.
If you are aiming to inspect your parts right on the shop floor, note that some technologies, such as articulated arms and laser trackers, cannot withstand harsh manufacturing environments. 3D measurement accuracy, reliability, and repeatability are substantially sacrificed because these types of equipment are very sensitive to environmental instabilities, thermal variations, and vibrations that often occur in and around an operating production line.
The size and complexity of the parts you inspect
If your quality control teams very rarely measure large and complex parts or if the parts are not significantly large, traditional metrology devices may fit your bill.
However, carefully consider the volume and type of inspections your quality control team can handle each year. Then, do the math. How much time does it take operators to set up the systems, transport parts to and from your production environment, and acquire 3D measurements? Do you need to invest in other equipment just for handling? Does your company manufacturer components with highly sophisticated geometries or reflective surfaces, which may bog down your inspection speed? You may be surprised at just how much the inefficiencies—and their associated costs—add up.
Once you have carefully assessed your needs, you may be interested in learning more about how 3D scanners and optical CMMs can tackle any inspection challenge of large parts.
That is precisely what ANDRITZ HYDRO did. With over 280 production sites around the world, ANDRITZ is one of the world’s major suppliers of facilities, equipment, and services for hydropower stations, the pulp and paper industry, the metalworking and steel industries, for municipal and industrial solid/liquid separation, and for animal feed and biomass pelleting.
ANDRITZ HYDRO had long used both laser trackers and measuring arms to acquire dimensional measurements on a wide array of large parts. The quality control team was looking for new, more flexible solutions to carry out measurements on production floors.
This content was originally published on the Creaform website.

